The Redbubble upload process used to be long and tedious.
Fortunately, they understand the grind of being an "Independent Artist" (this is what they call their sellers) and made a priority of making it easier to upload to their platform in early 2019.
(This is after I spent an entire day uploading to Redbubble back in December 2019, and actually hit the ~400 product upload limit)
Today's Upload Limit: 50 products/day
They had to reduce it after making it SOOO much easier to upload, and don't want their platform spammed. Makes sense to me!
Manually Uploading
Here's the Redbubble upload process, broken down step-by-step for beginners:
- Go to Redbubble.com
(If you haven't created an account yet, do so now)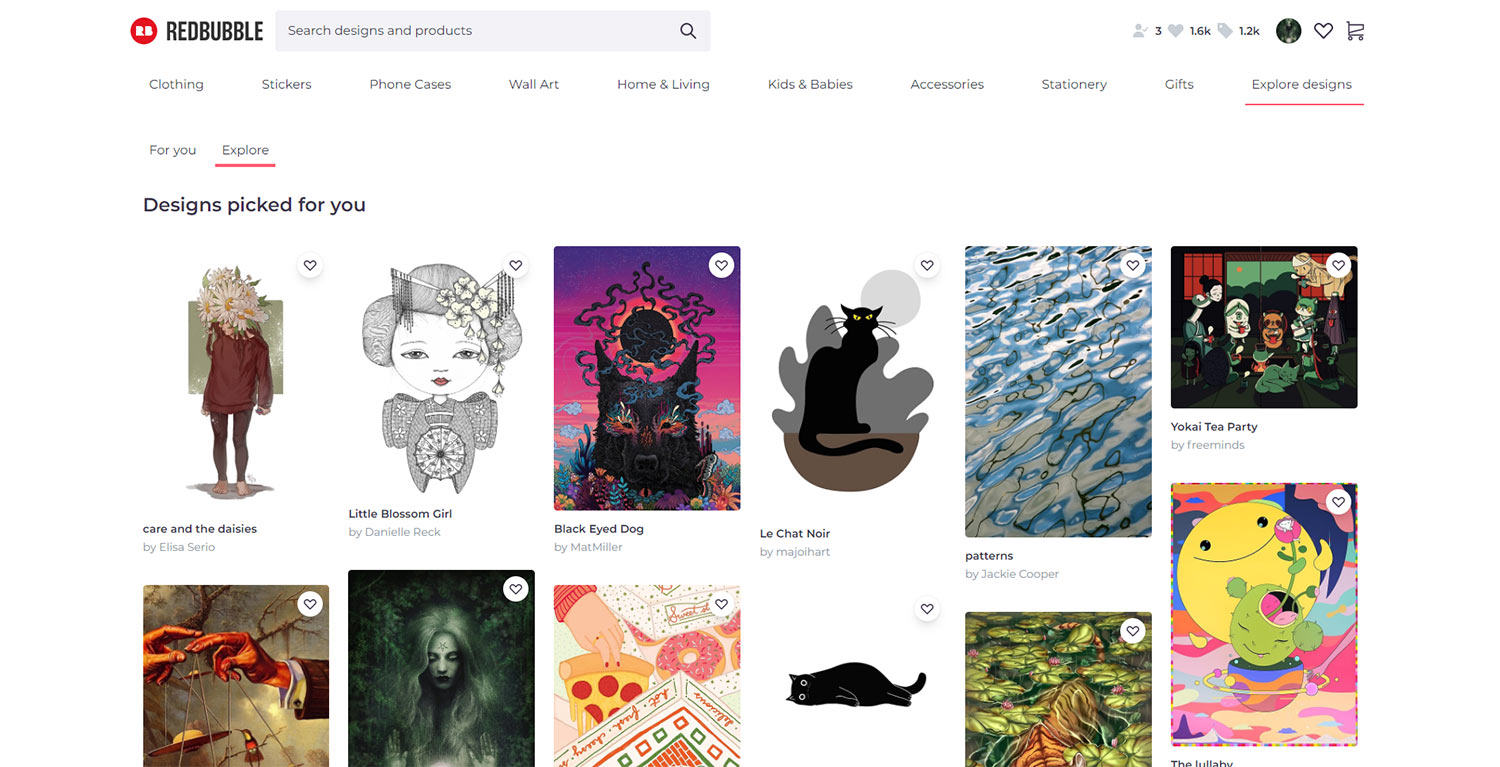
* click to expand
- Click your avatar to open the dropdown menu, then click "Add New Work"
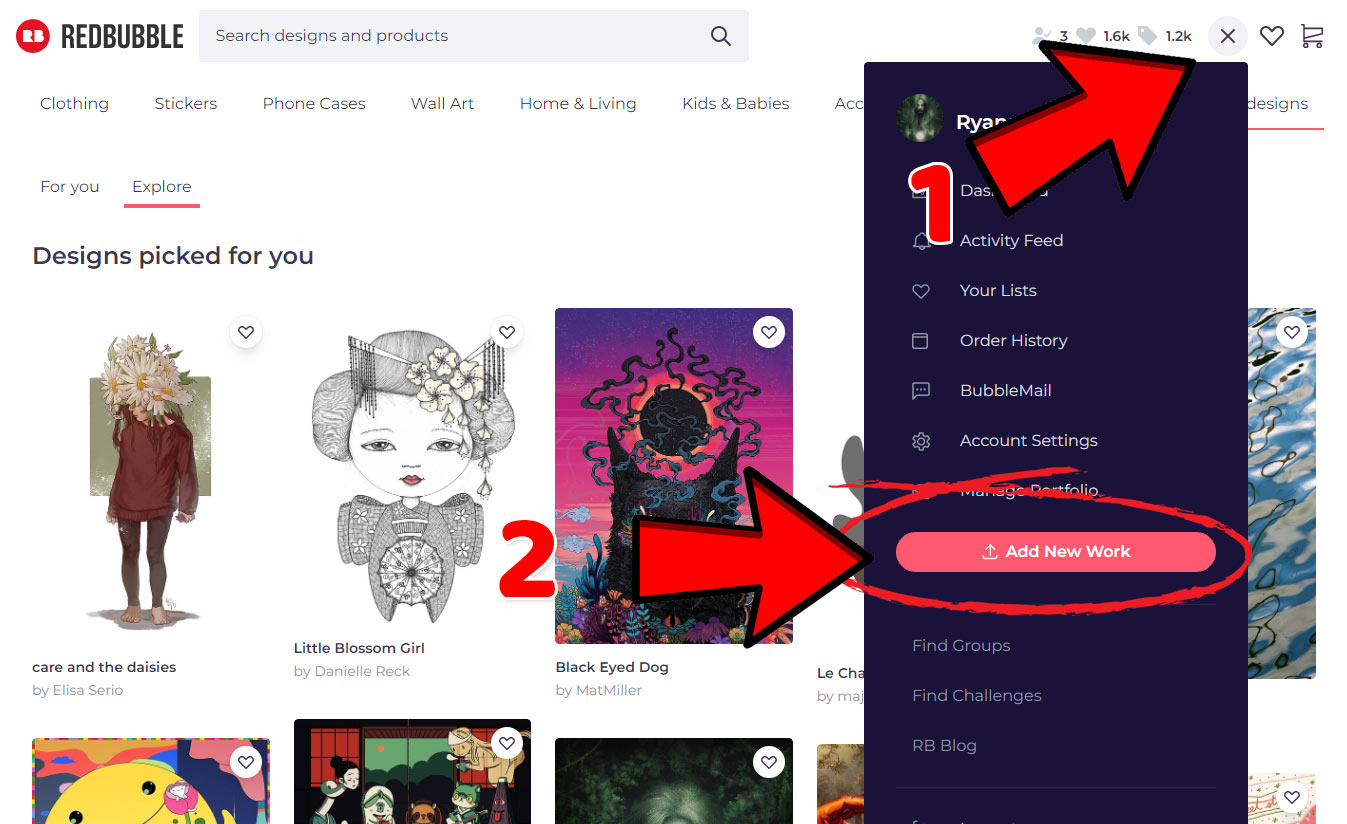
* click to expand
- Click "Upload to all products" & select your design
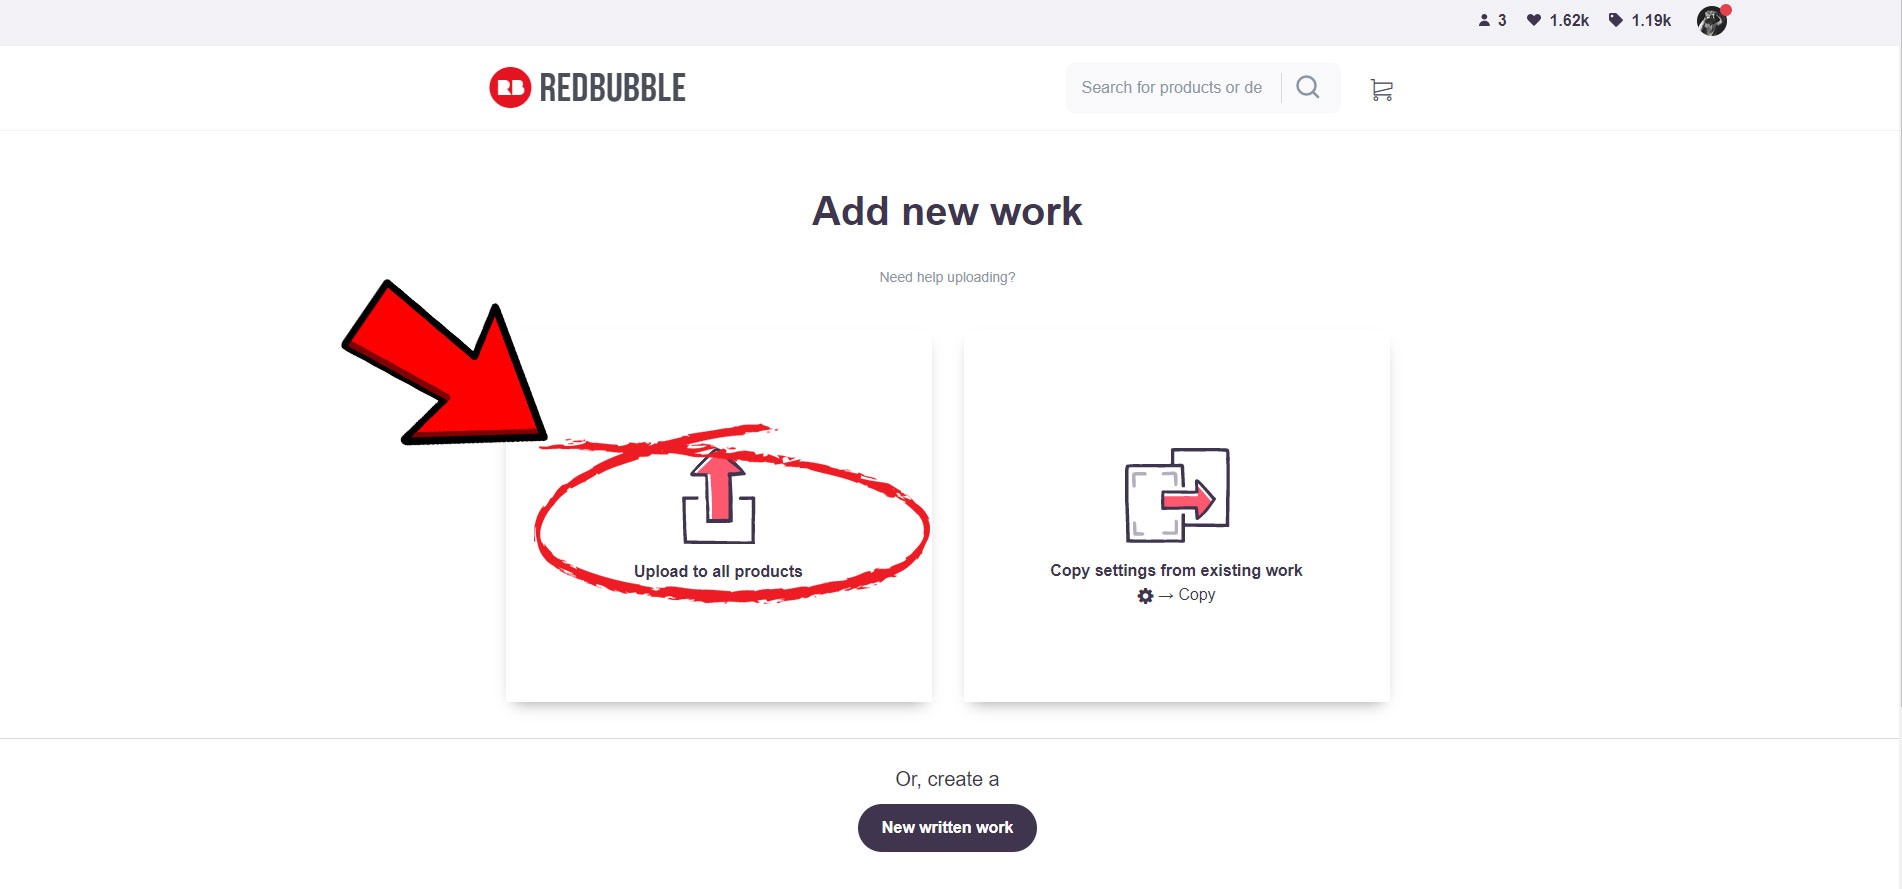
* click to expand
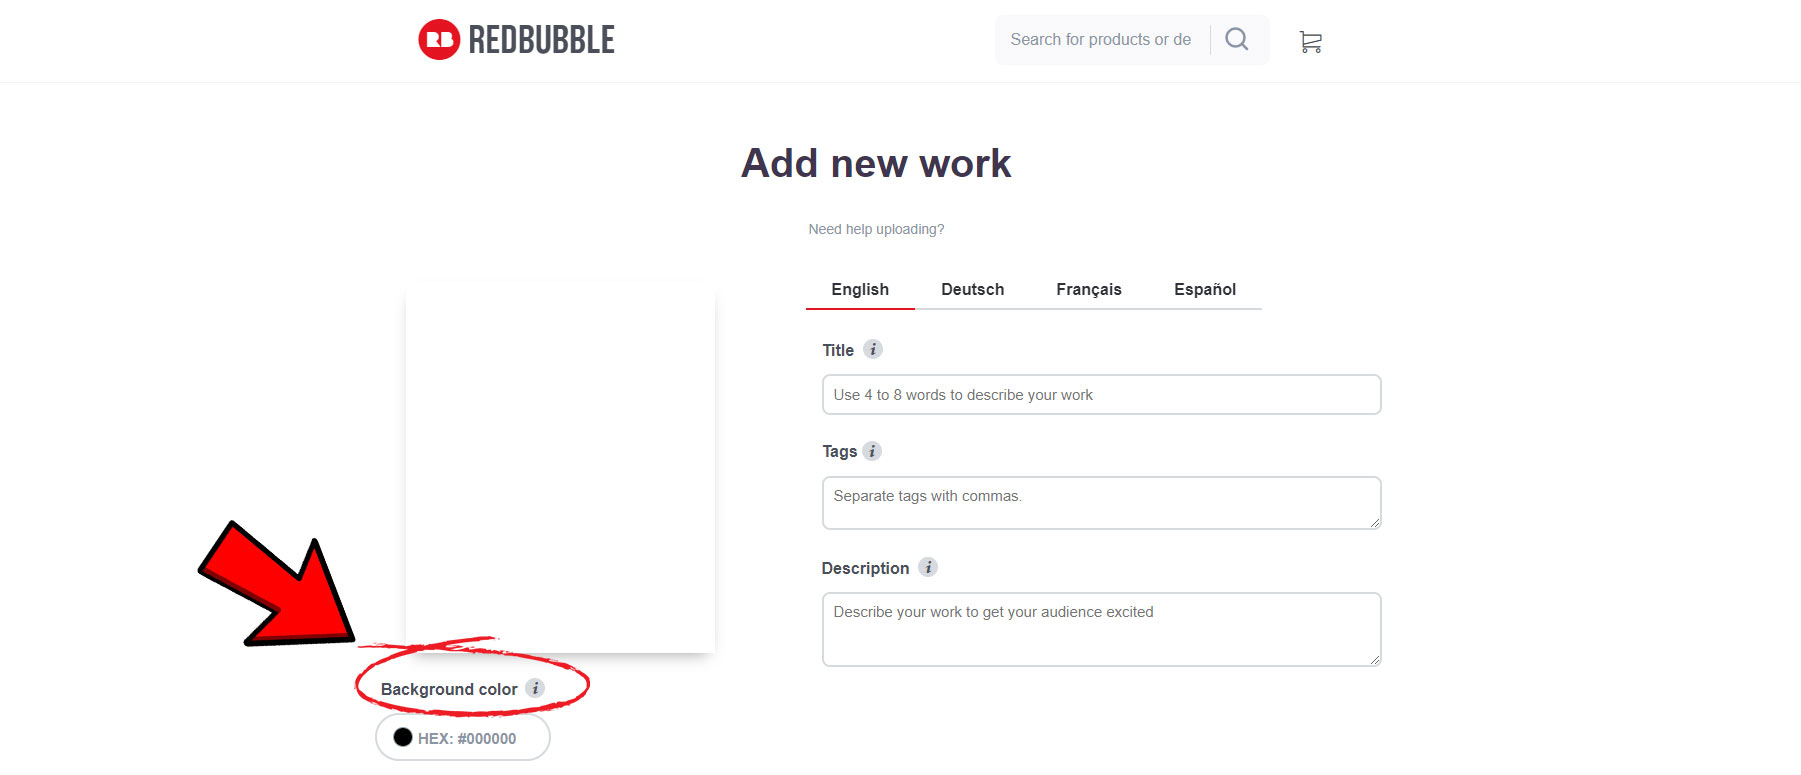
- First, set your background color (based on what your design is optimized for) - then you'll be able to see your design up against the products base-colors.
* click to expand
- Next, set your Title, Tags, & Description
Title: Your Title should be the most relevant & descriptive keywords associated with your design
Tags: (Limit: 50) Try and make it as relevant and specific to your artwork as possible, and always tag while imagining it being used in our comprehensive search engine. Tags can help bring your images to the top of relevant searches, and are a great way to get new eyeballs on your work.
Check out the [FREE] Merch Titans Redbubble Tag Generator Tool »
Description: Select 1-2 keywords that are also tags that you can add into your description in a natural way. Search engines will then be able to see the correlation between your tagging and description, and bump you up their rankings so it floats higher up in searches and gets more attention.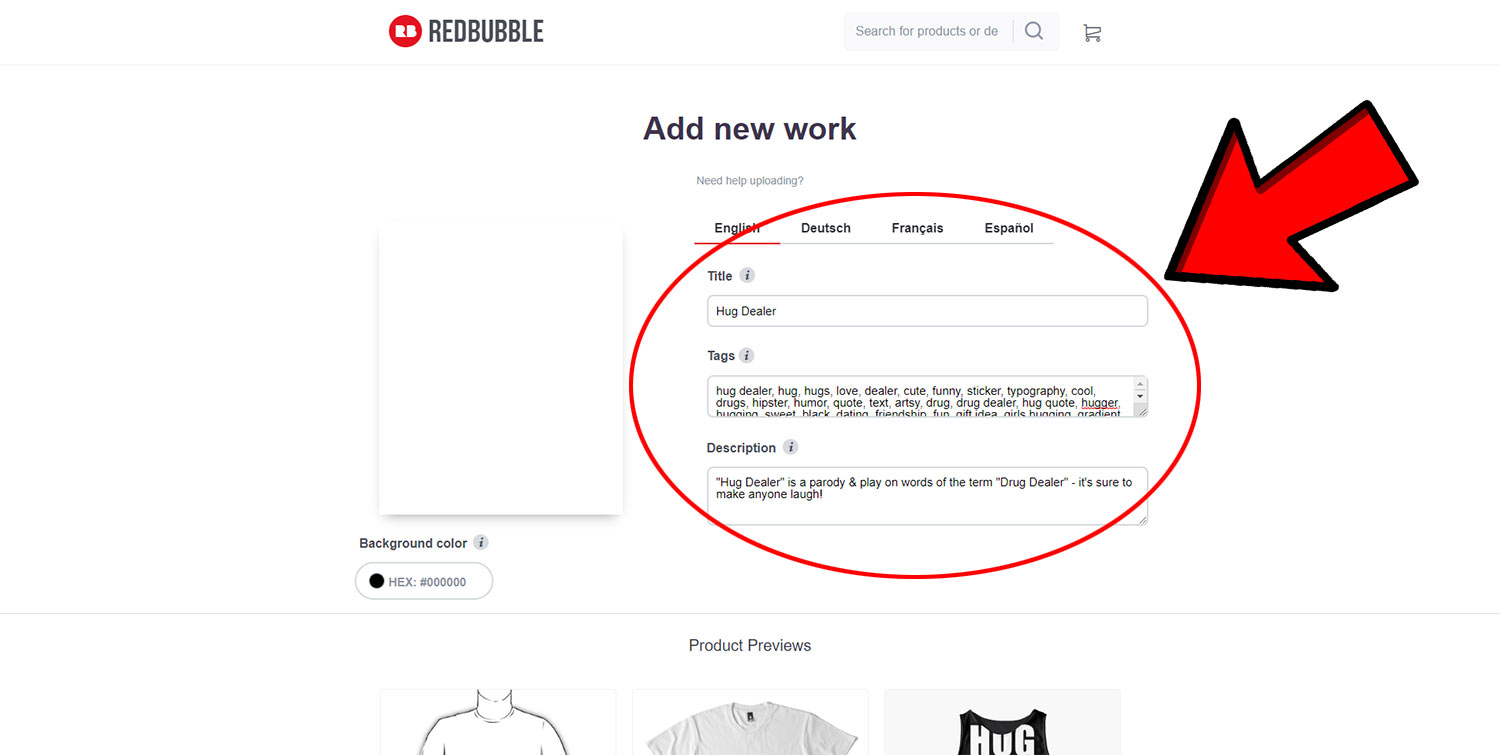
* click to expand
- Then (assuming this is your first Redbubble upload) you will need to manually position your design onto each product
(You may also need to maunally set the background color of some products as well...)
I recommend enabling each product type (there's no harm done here)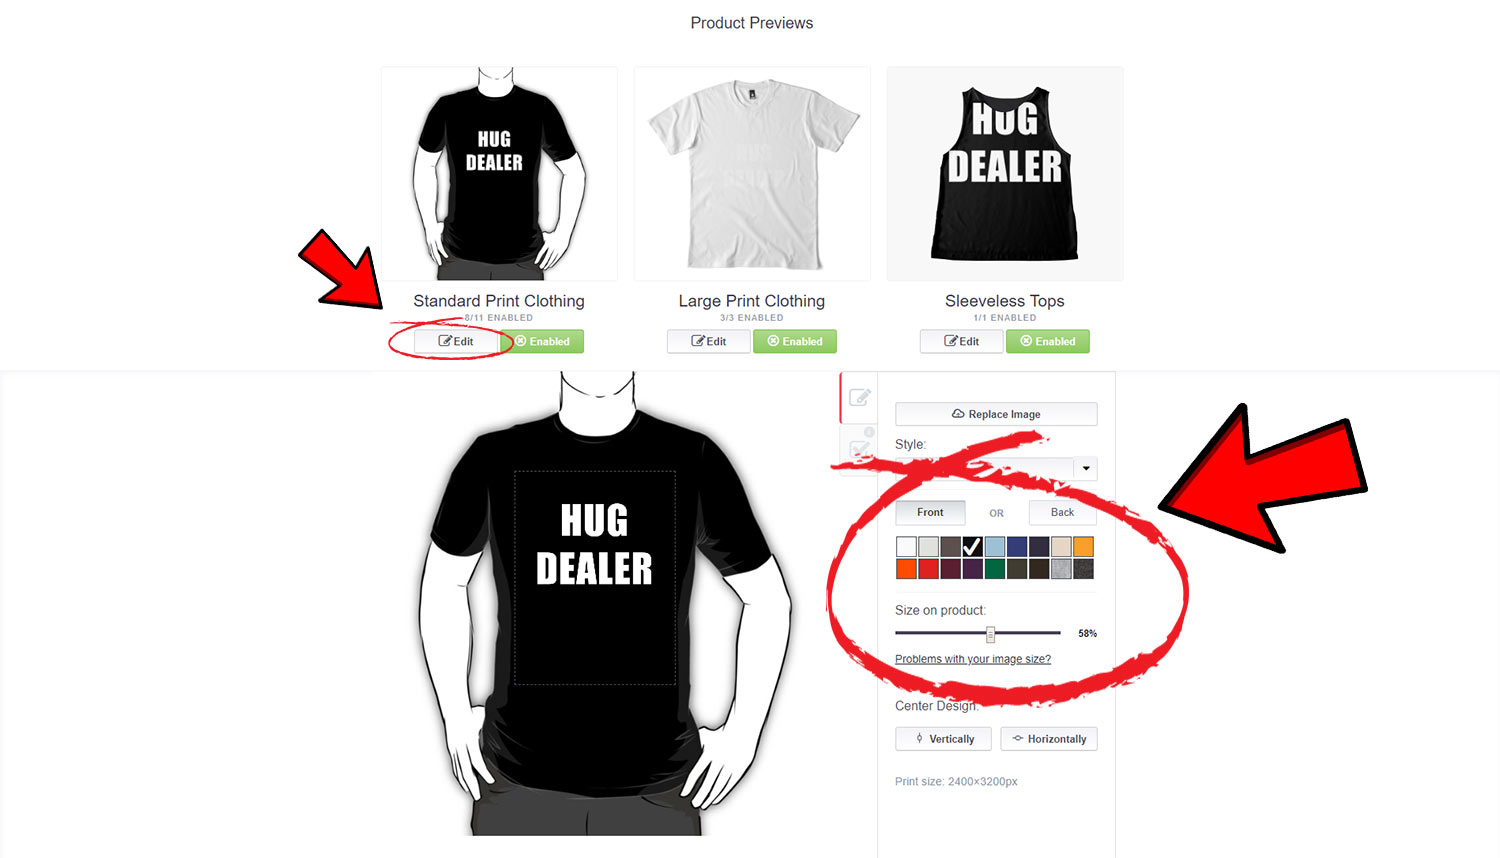
* click to expand
- When you're ready to make it available for sale, finish the following configurations:
Default view in your shop: Stick is great for graphic designs - otherwise, T-Shirts & Hoodies works great for text-based designs
Is this mature content?: Answer truthfully: Anyone (public)
Last, check the box for "I have the right to sell products containing this artwork, including (1) any featured company�s name or logo, (2) any featured person�s name or face, and (3) any featured words or images created by someone else." & click "Save Work"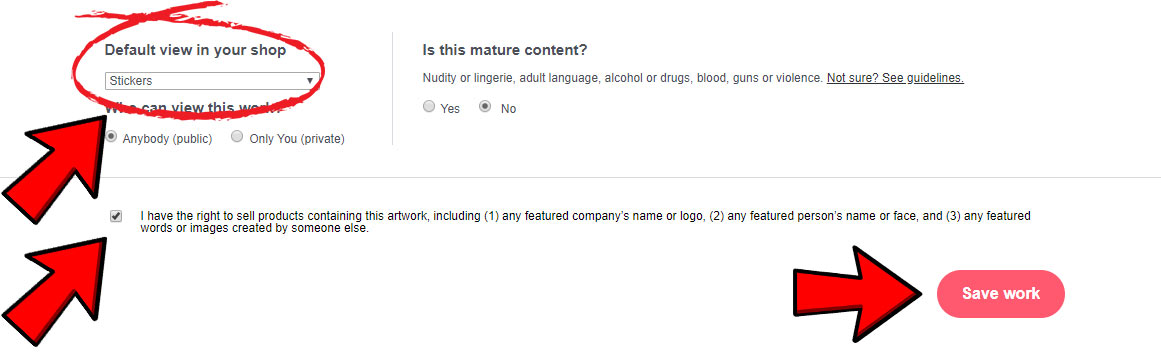
* click to expand
Once you've got at least one manual upload, you're ready to upload using templates... or as they call it, the "Copy" funciton.
Uploading Using Templates
Once you've manually created at least one listing, you should always use the templated approach below.
With templates, you are basically cloning an existing upload and swapping out the graphic.
You'll like want to vary templates based on a few different factors:
- Product color (dark vs light background)
- Default view (stick vs t-shirt & hoodie vs whatever else)
You'll get the hang of what I'm talking about in no time.
- Click your avatar to open the dropdown menu, then click "Add New Work"
* click to expand
- Click "Copy settings from existing work"
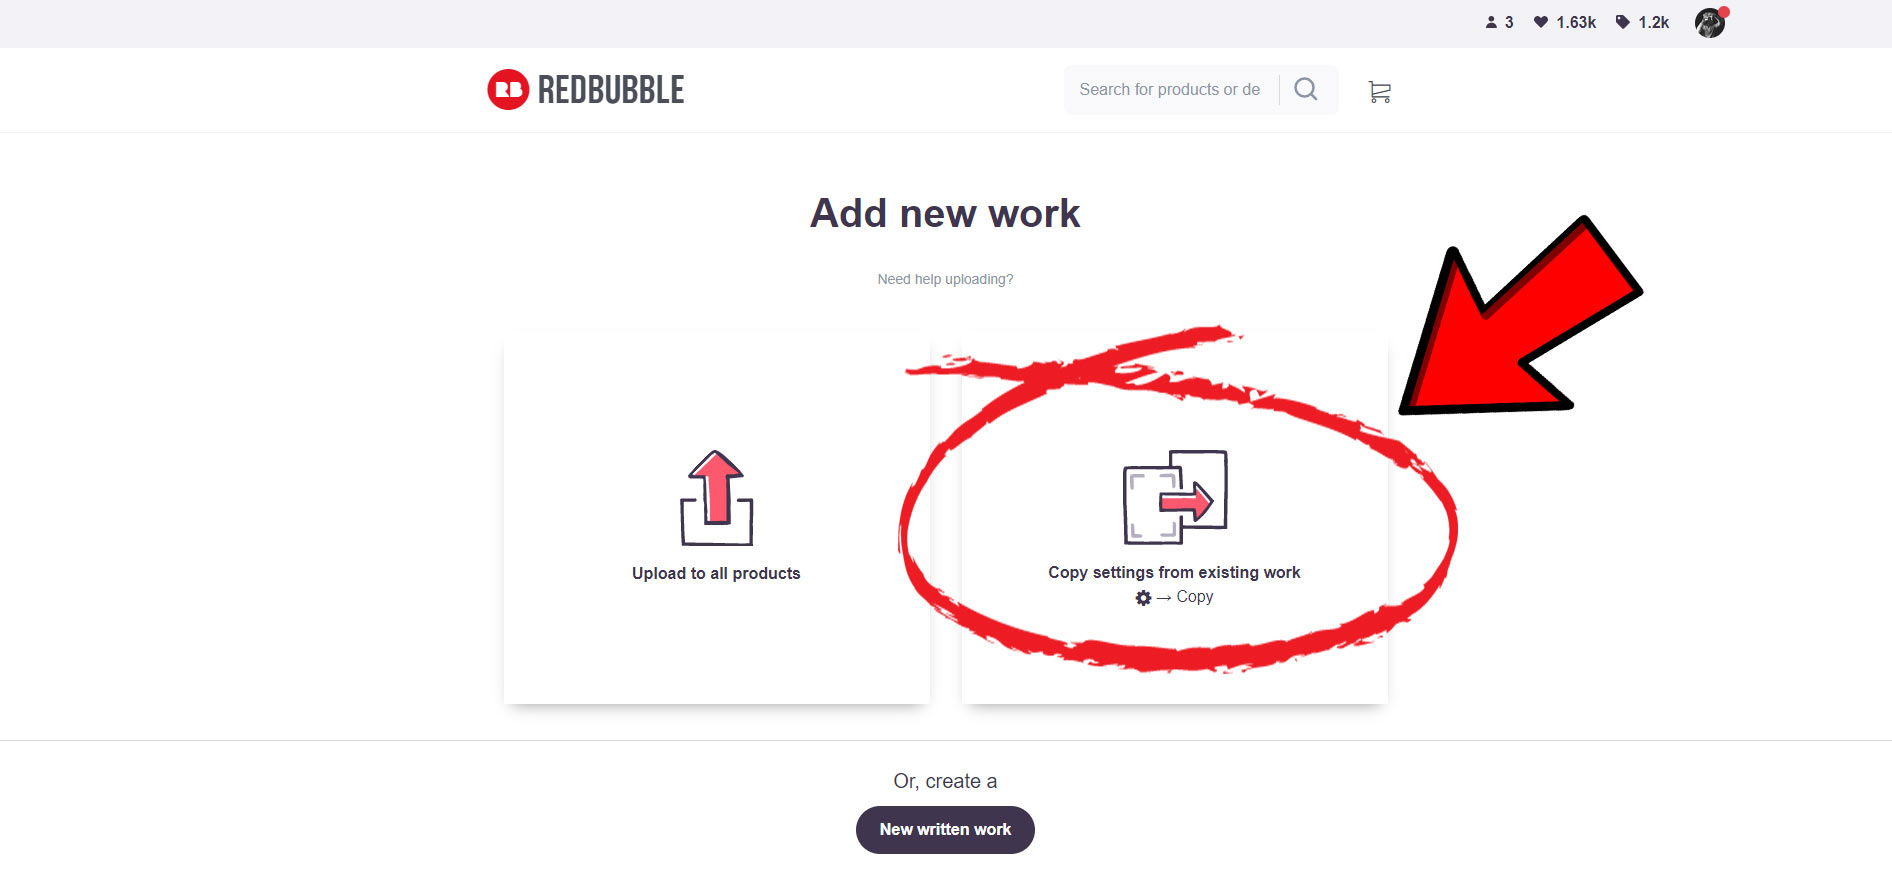
* click to expand
- Select a template to clone from your existing listings
(Later on, I'll show you how to automate this entire process using Merch Titans Automation)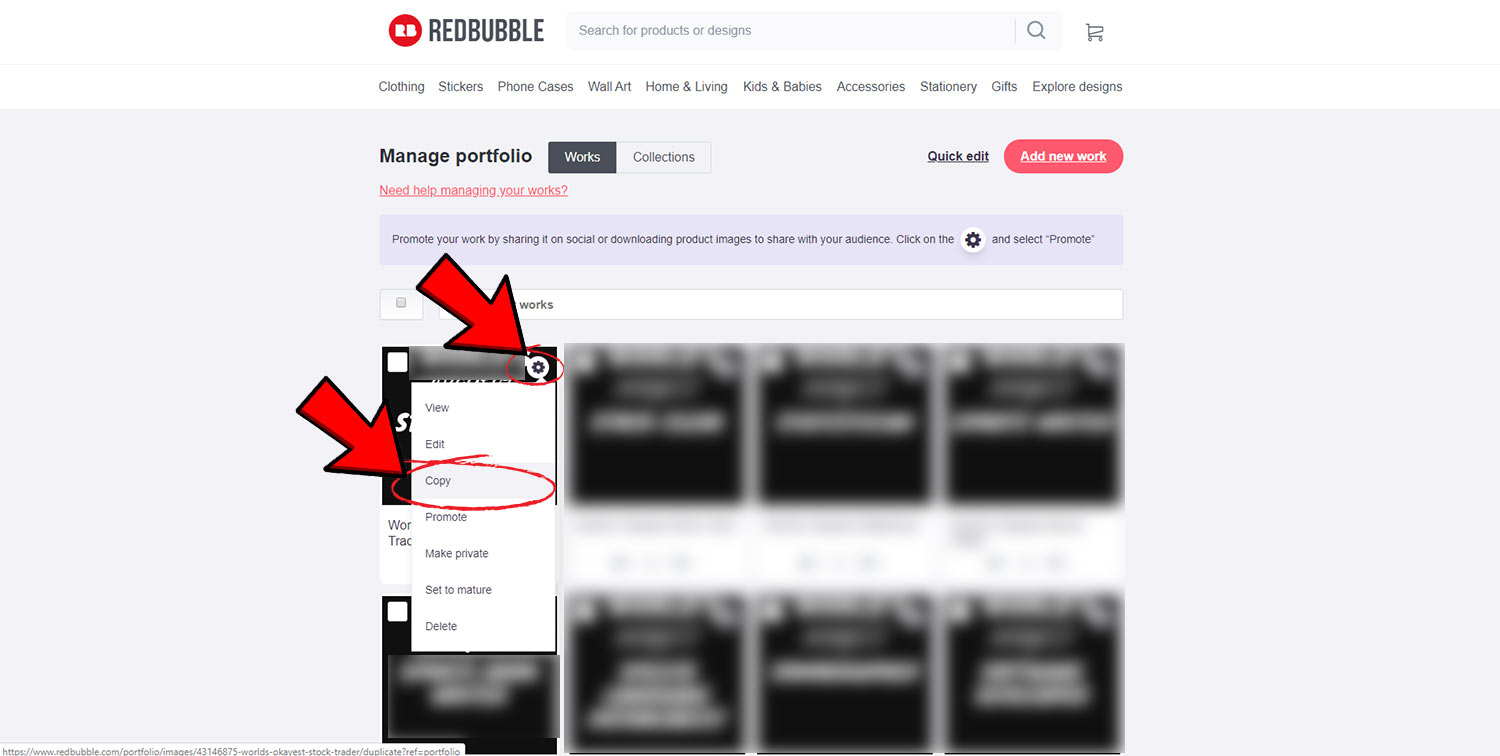
* click to expand
- From here, follow steps #5, #6, & #7 from the previous walkthrough, and you're good to go!
Since Redbubble released the "Copy" function, uploading has been so much easier - there's no reason not to take advantage of the massive opportunity that selling on their platform presents us!