The upload process is the biggest pain point of Amazon KDP.
They condensed the Amazon Merch upload process to a single screen, and they desperately need to do the same for KDP.
Right now, the KDP upload process is split up into 3 (unintuitive) steps, and easily deters people from participating in the promising program.
Not to mention, the upload & validation process for interiors + covers can take over 15+ minutes!
The point of this blogpost isn't just to complain... I wouldn't do that.
I always want to provide value in the form of a solution to the shared problem that all KDP sellers face, which in this case, is the long upload process.
Fortunately, our friends at Merch Titans came through for us AGAIN & created a Kindle Direct Publishing automation tool.
Download Merch Titans KDP Automation
Merch Titans Automation is an automation tool that's changing print on demand as we know it.
Uploading designs is one of the most tedious, time consuming aspects of running a POD business.
With this tool, you can sit back & relax while it uploads using multiple browser tabs at a time, while you focus on more important things.
Step 1 is to sign up for Merch Titans Automation (you get 3 months free when you sign up for the annual plan):
Once your account is setup, you can download & install the app using the following links:
Merch Titans XLSX File
You no longer need to key in information about your designs manually into web form fields.
With Merch Titans, we can harness the power of Excel spreadsheets & their ability to use variable strings to use a formula-driven approach for our keyword/Amazon SEO strategy.
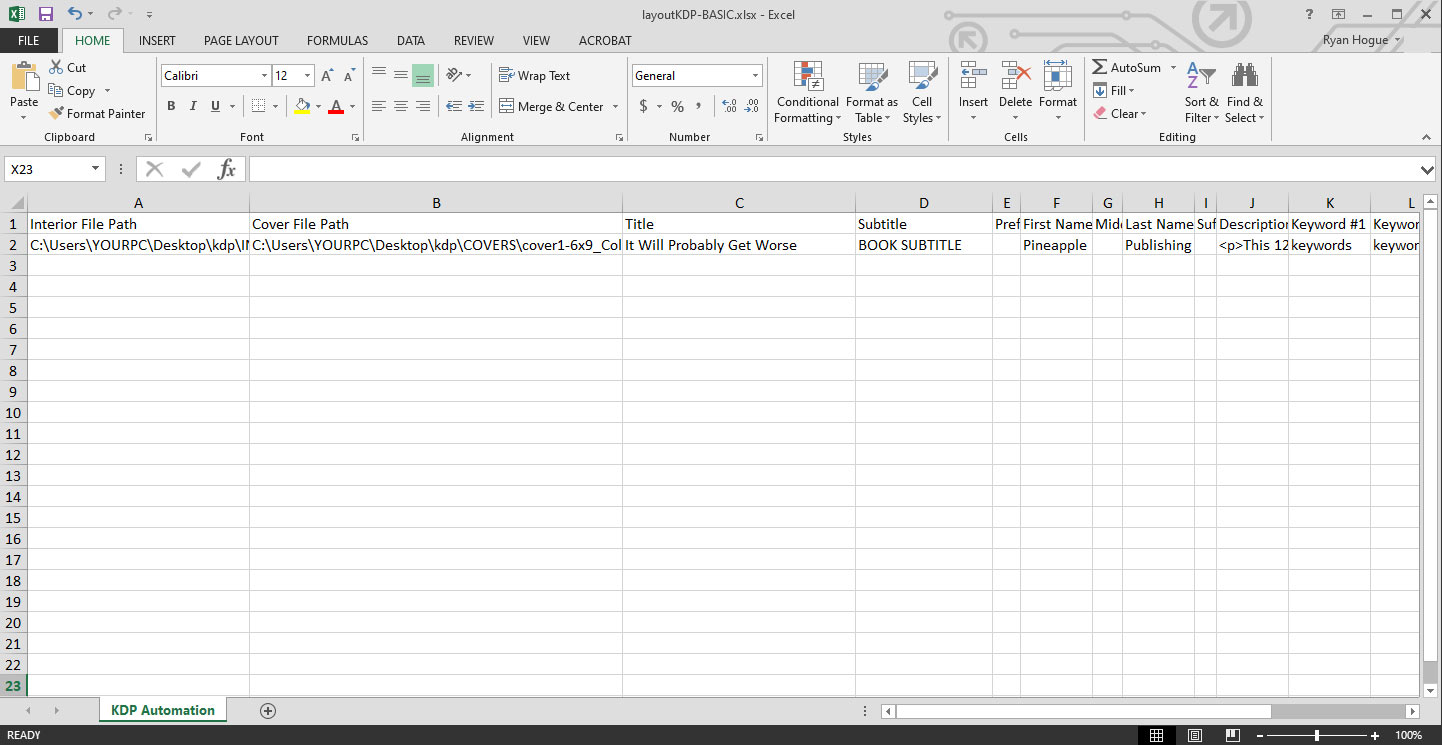
Download my BASIC spreadsheet where you'll store things like Title, Brand, Bullets, & Description for your designs
* click to expand
Within the spreadsheet, 1 row of information represents 1 design.
Here's an explanation of each column:
- Interior File Path: The path to your interior PDF file relative to your computer's hard drive (changing a folder name or file name will break existing paths!)
- Cover File Path: The path to your cover design PDF file relative to your computer's hard drive (changing a folder name or file name will break existing paths!)
- Title: Your book title MUST match the text on your cover (& your cover MUST contain some text)
- Subtitle: This will also be a part of your book title & will appear after a ":" on your product listing. Title + Subtital can have a maximum 255 characters (combined)
- Prefix: (skip)
- First Name: You can use your name, or an alias... such as "Pineapple"
- Middle Name: (skip)
- Last Name: I often use the word "Publishing" as the last name. So the listing would be "Pineapple Publishing"
- Suffix: (skip)
- Description: The book description, which can use basic HTML formatting
- Keyword #1: up to 50 characters to describe your book
- Keyword #2: up to 50 characters to describe your book
- Keyword #3: up to 50 characters to describe your book
- Keyword #4: up to 50 characters to describe your book
- Keyword #5: up to 50 characters to describe your book
- Keyword #6: up to 50 characters to describe your book
- Keyword #7: up to 50 characters to describe your book
- Price: Your book's list price on Amazon
- Category #1: Your book's sub-category (within the book category on Amazon). I typically use: Nonfiction > Self-Help > Personal Growth > General
- Category #2: Choose a second sub-category. I typically use: Literary Collections > Diaries & Journals
- PRIMARY KEYWORD: (CUSTOM) If you enroll in Ryan's Method: KDP, I share my personal KDP spreadsheet with you that variable keyword strings to streamline the spreadsheet data process
- SECONDARY KEYWORD: (CUSTOM) If you enroll in Ryan's Method: KDP, I share my personal KDP spreadsheet with you that variable keyword strings to streamline the spreadsheet data process
- DESIGN: (CUSTOM) If you enroll in Ryan's Method: KDP, I share my personal KDP spreadsheet with you that variable keyword strings to streamline the spreadsheet data process
Here's a bit more about each column:
Filling in Column A: Interior File Path
Select your interiors (CTRL+A will select everything inside a folder) & then SHIFT+RIGHT CLICK to make the "copy as path" option available - click copy as path.
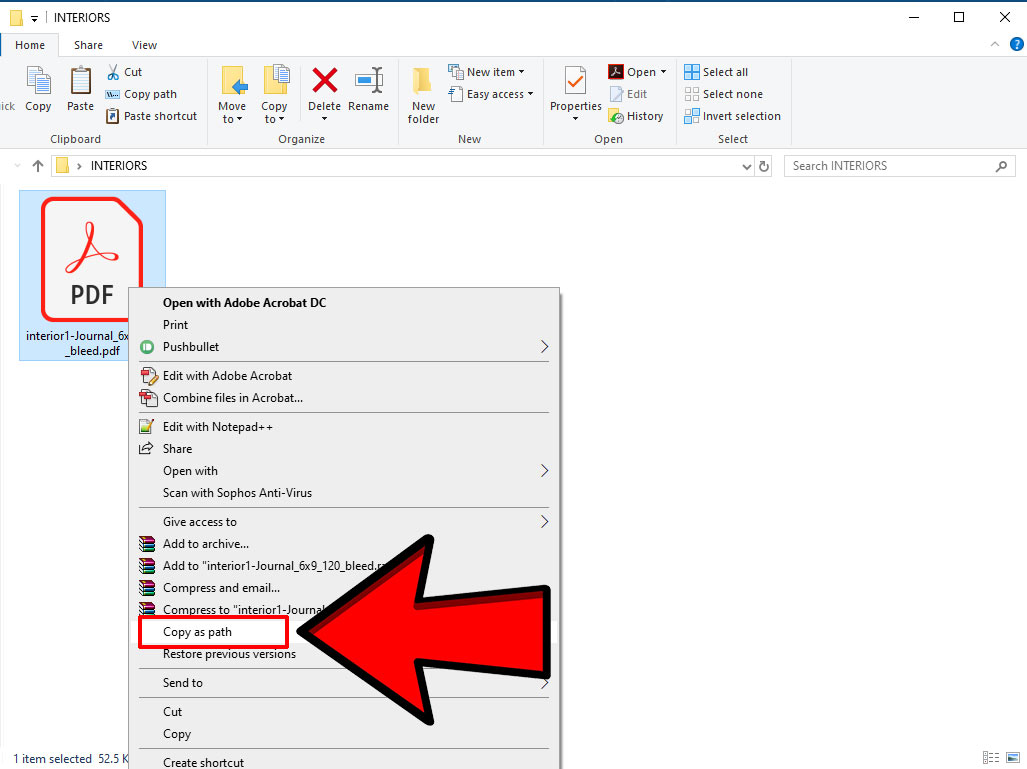
After clicking "copy as path", click into the top cell underneath the "Interior File Path" heading & CTRL+V or Right click > Paste to place the data into the spreadsheet

(You can duplicate the value here for each row of content, assuming each book shares the same interior file)
Filling in Column B: Interior File Path
Select your covers (CTRL+A will select everything inside a folder) & then SHIFT+RIGHT CLICK to make the "copy as path" option available - click copy as path.
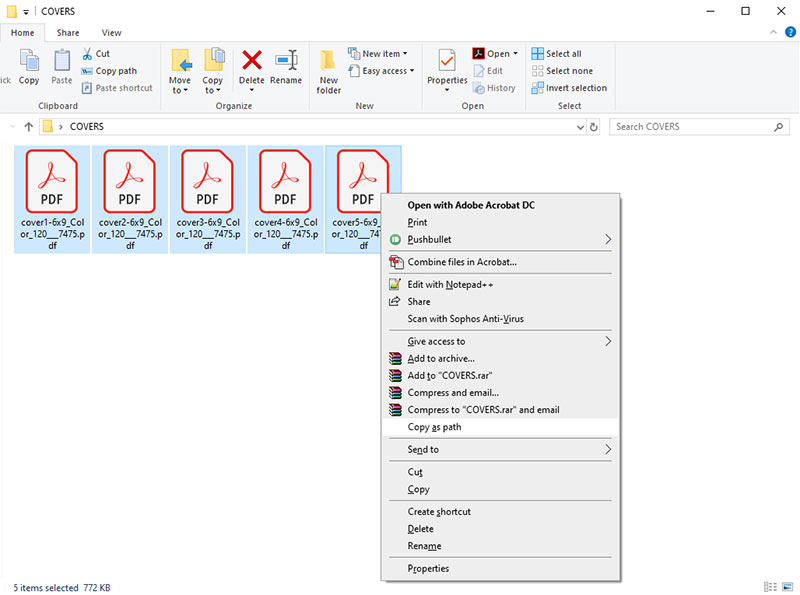
After clicking "copy as path", click into the top cell underneath the "Cover File Path" heading & CTRL+V or Right click > Paste to place the data into the spreadsheet

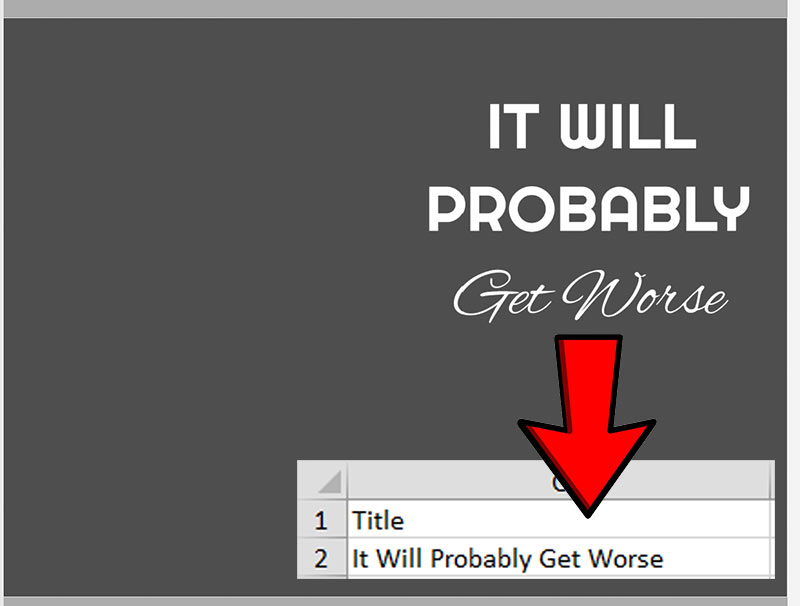
Filling in Column C: Title
Enter your title as it appears on your book cover:
Filling in Column D: Subtitle
Include additional keywords that will be appended to your title after a semicolon ":"
Example: "Lined Journal, 120 Pages, 6 x 9, Soft Cover, Matte Finish"

Filling in Column E: Prefix
(skip)
Filling in Column F: First Name
You can use an alias like "Pineapple" or "Happy Day"
Filling in Column G: Middle Name
(skip)
Filling in Column H: Last Name
I almost always use the last name "Publishing"
Filling in Column I: Suffix
(skip)
Filling in Column J: Description
Write a description of your book - allows the use of basic HTML.
Example:
<p>This 120-page journal features:</p>
<ul>
<li>120 pages</li>
<li>6" x 9"</li>
<li>white-color paper</li>
<li>a cover page</li>
<li>a glossy-finish cover for an elegant, professional look and feel</li>
</ul>

Filling in Column K-Q: Keywords #1-7
Provide backend keywords (meaning they won't be visible on the product listing)
You get 50 characters x 7 boxes = 350 total characters, and you don't need to add commas, dashes, or plurals.
Here's an example approach to using each keyword box:
- Box 1 & 2: Describe physical product (notebook journal planner organizer diary)
- Box 3 & 4: Who is target market? (moms dads grandmas students teachers)
- Box 5 & 6: Related niche keywords (synonyms, descriptors)
- Box 7: Use as needed - if not needed, use generic words (funny cool awesome gift christmas birthday white elephant secret santa)

Filling in Column R: Price
There are different variables that factor into your royalty at each price point.
I recommend launching your book at a low price, perhaps around $5.99 or $6.99, and then after it builds some initial sales volume you & ranks organically on the primary keywords, you can increase the price.
- $5.95 price = $1.28 royalty
- $6.95 price = $1.88 royalty
- $7.95 price = $2.48 royalty
- $8.95 price = $3.08 royalty
- $9.95 price = $3.68 royalty

Filling in Column S: Category #1
Categorize your book. For low content notebooks, I typically use:
Nonfiction > Self-Help > Personal Growth > General

Filling in Column T: Category #2
Categorize your book again. For low content notebooks, I typically use:
Literary Collections > Diaries & Journals

Filling in Column U+V+W: PRIMARY KEYWORD
In my full KDP course, these columns are a part of a formula-driven approach to generate dynamic SEO-optimized Titles, Subtitles, Keywords, & Descriptions so that you can reduce the upload time even further!

When your spreadsheet is filled out, move on to the next step where we run the uploader.
Running Merch Titans KDP Uploader
The remaining step is pretty straightforward & simple (much simpler than the other Merch Titans POD automation upload tool).
- Launch the app, set upload speed to "Fast", click the "Choose an XLSX file" button, & select your spreadsheet
* click to expand
- Check your configuration on the "KDP" settings tab:
Number of tabs to run in parallel: 10+ (this will impact your computer's resources, so if you're on a slower computer, you can choose to reduce the #)
Email / Password: These are NOT uploaded/stored on Merch Titans servers (I received confirmation form their CEO)
Paperback's Primary Language: English
Adult Content: If book contains curse words or adult content, select "Yes" / else, select "No"
Paper Type: White pages are bright, Cream pages are easier on the eyes* click to expand
- (The settings below are popular settings, but you can feel free to change them as you see fit)
Width: 6"
Height: 9" (feel free to upload books at other dimensions than 6x9, for example purposes, I am being consistent)
Bleed: Yes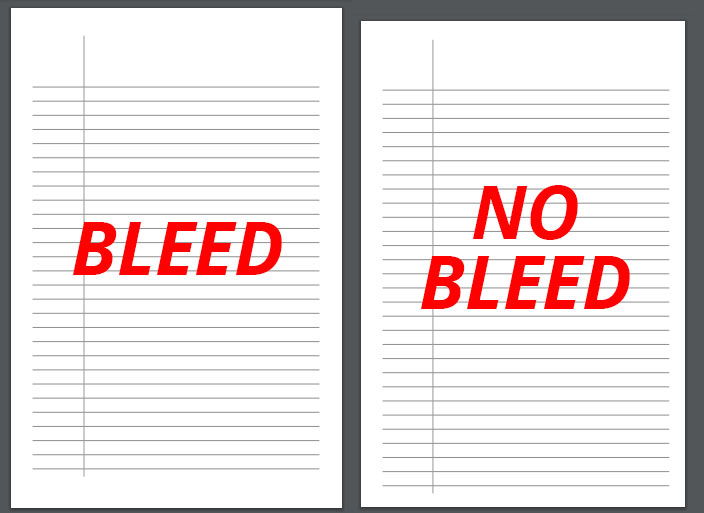
Cover Finish: Glossy is shiny & great for kids-themed books, Matte is good for everything else
Primary Marketplace: Amazon.com (the most popular market)
Expanded Distribution: Yes (we only stand to benefit from this)
Manually Input Other Marketplaces Price: No (Amazon will take care of conversions for us)
Save or Submit: Publish* click to expand
Make sure to manually upload a few books to KDP before running the uploader, if not only to get a feel for what each of these configuration fields mean, & how they translate into your final product..