Your sales should see a massive spike following Thanksgiving/Black Friday, as customers begin shopping in preparation for the holiday season.
As a result, your fulfillment partners may experience a slowdown in their production times for your goods (Gearbubble especially).
In order to protect your Amazon account, we may need to extend out handling times to account for the potential delays. Otherwise, you might occasionally see this email from Amazon:
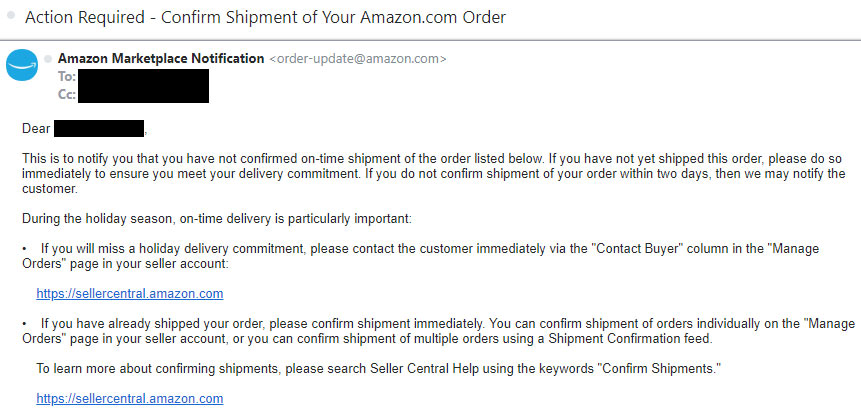
* click to expand
(You never want to see one of these)
When I receive one, it means I forgot to update my handling times...
How to Bulk Edit Listings On Amazon
The purpose of this article is to share how to bulk edit handling times, but you can also easily update both Price & Quantities at the same time as well.
* Note: this gets a bit technical, but it shouldn't deter you from performing the steps in order to protect your Amazon account.
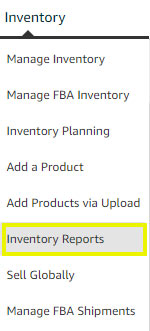
- Create an active listings report by going to Inventory > Inventory Reports
* click to expand
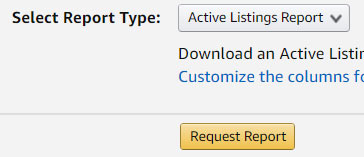
- Request & Download the Active Listing Reports (it may need to process for up to 5 minutes)
* click to expand
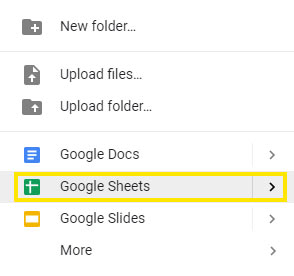
- In Google Drive, create a blank Google Sheet
* click to expand
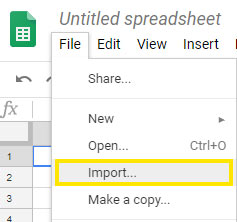
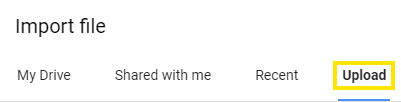
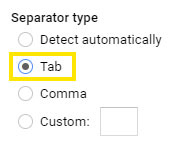
- Click on File > Import & upload the Inventory Report. Set the separator type to "Tab"
* click to expand
* click to expand
* click to expand
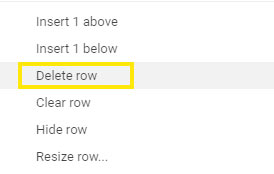
- After the data loads, right click & delete the first row

* click to expand
* click to expand
- Click the data tab & sort by column A from A to Z
(This makes it easier to remove products)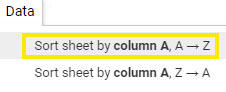
* click to expand
- Delete any SKU that you DO NOT want to change.
I typically edit listings together per fulfillment partner. Gearbubble listings start with the prefix "GB", while Printful listings begin with "PF".
Only leave the SKUs in that you intend to make changes to - Next we need to create an upload spreadsheet, using a template provided by Amazon.
Go to Inventory > Add Products via Upload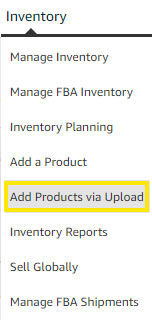
* click to expand
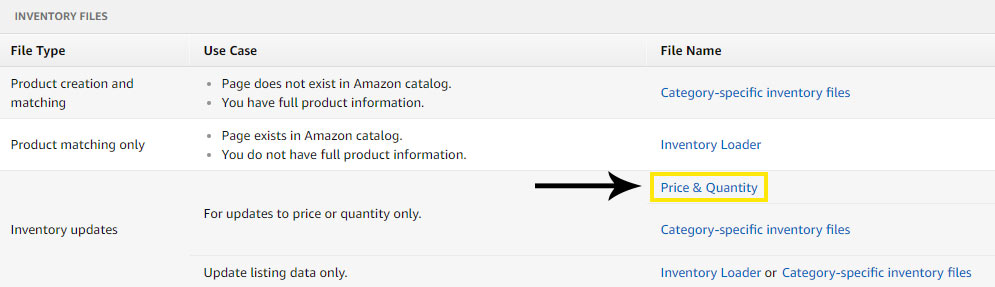
- Under the "Download an Inventory File" tab, scroll down to the "Inventory Files" section & download the "Price & Quantity" template (you can click here as a shortcut)

* click to expand
* click to expand
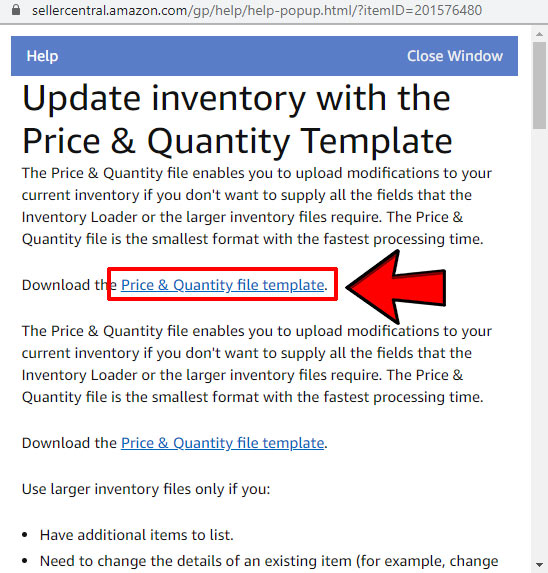
- Click the "Download the Price & Quantity file template." link
* click to expand
- Open the Price & Quantity file that you just downloaded in either Google Drive or Excel
(If you want to edit in Excel, make sure both files are open in Excel & vice-versa)
The "Data Definitions" tab is open by default - switch to the "Price Template" tab
* click to expand
- Alternate between your sorted inventory report file & the inventory file - move your data over one column at a time
DO NOT COPY HEADERS (Only copy the DATA!)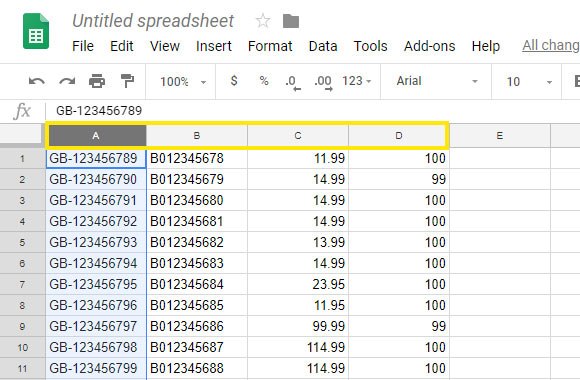
* click to expand
You can select all data from a column by clicking the column header (for example, click "A" to select everything)
Note: If you get an error "we can't paste because the copy area and paste area aren't the same size", then copy the values manually (don't click the column headers)
Column A: SKU - Move to "sku"
Column B: ASIN - (ignore)
Column C: PRICE - Move to "price"
Column D: HANDLING TIME - Move to "handling-time" - After all of the required columns are ported over, set the "handling-time" column to the integer value representing the # of days (I currently use 14 days for Gearbubble during the holidays & 10 days for Printful)

- Save the Price & Quantity as "Text (Tab delimited)"
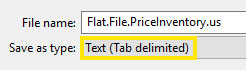
* click to expand
if you used Google Sheets, you may need to save as .xlsx & open in Excel in order to save as Text (Tab delimited) - The last step is to upload our Price & Quantity file. Go back to Inventory > Add Products via Upload & click the "Check & Upload your Inventory File" tab
* click to expand

* click to expand
- DO NOT use the "check inventory file for errors" function.
If there's errors when you upload, it will let you know via email.
Proceed with your upload in the "Step 2: Upload File" section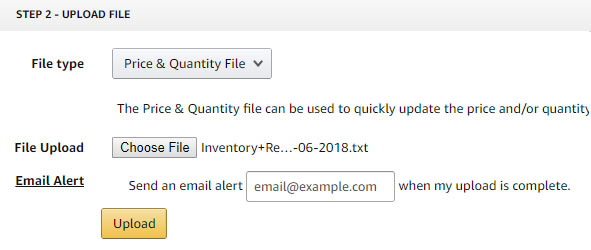
* click to expand
- That's it!
I typically receive an email indicating that it finished processing within 15 minutes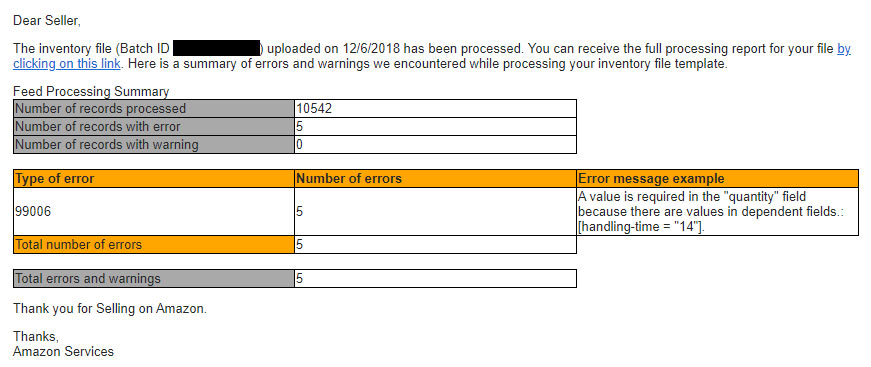
* click to expand
It's always best to play it safe and bulk edit your handling time for the holidays.
Your Amazon account grows in value as you add more SKUs to your dropshipped print on demand offerings. Don't get greedy with handling time - you and I have no control over how long it takes our fulfillment partners to ship out orders.
Keep in mind that you can (& should) reset your handling times after the holidays are over. Save this article and use the same approach to bulk update your Amazon listings.
Better safe than sorry!